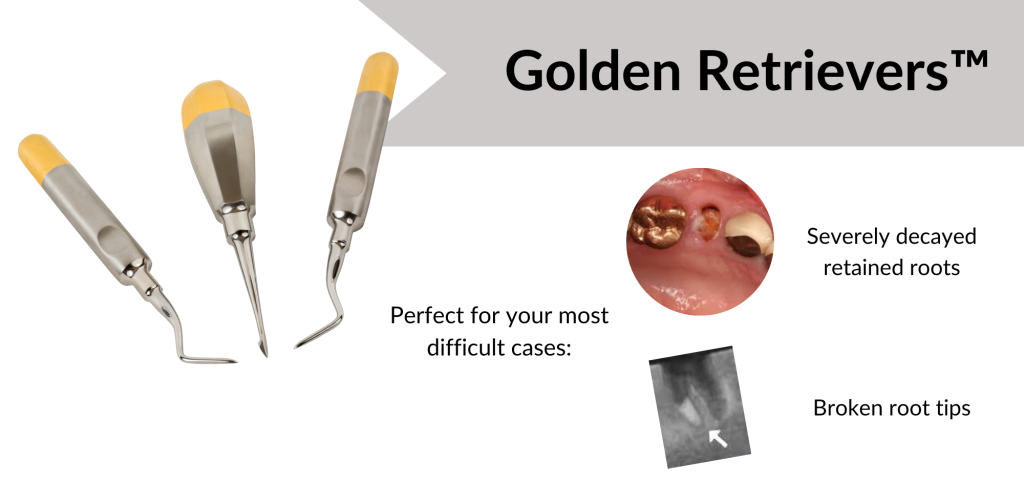
Temporary Crown Remover
After practicing dentistry for over 25 years, I saw that there was a noticeable VOID in instrumentation when it came to temporary crown removal.
There were no decent tools available made to effectively remove provisionals – Many were poorly designed, always slipping.
It was then that I decided to embark on a quest to invent the perfect temporary remover.
After much trial and error, experimentation and testing, I eventually came up with the final version of the tool I call TempOff®. I am happy to say that over thousands of dentists have switched.

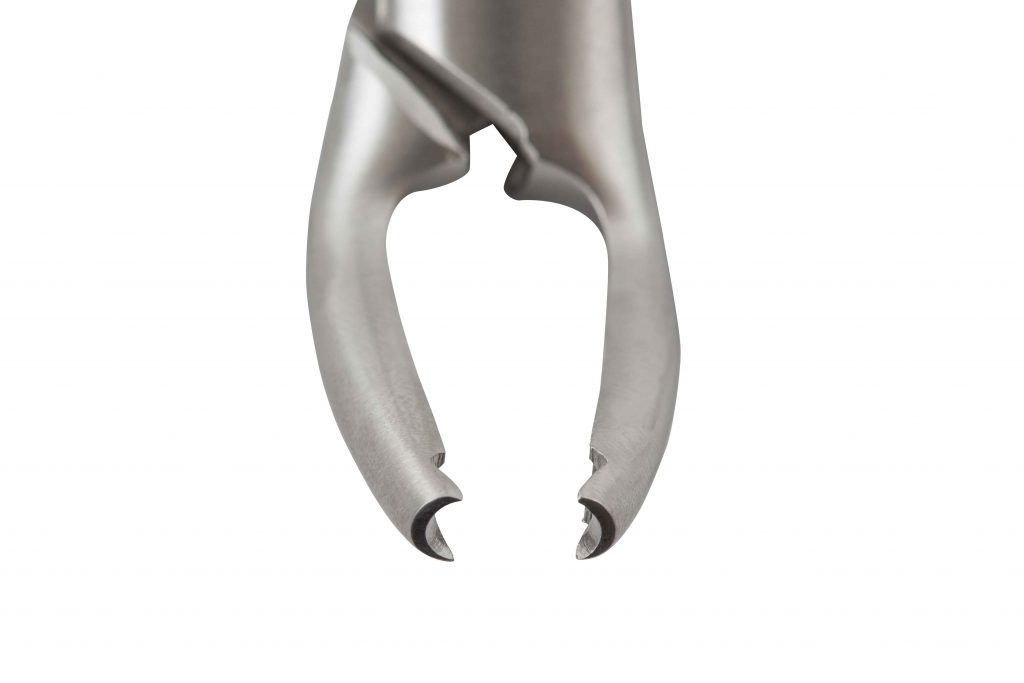
How it works:
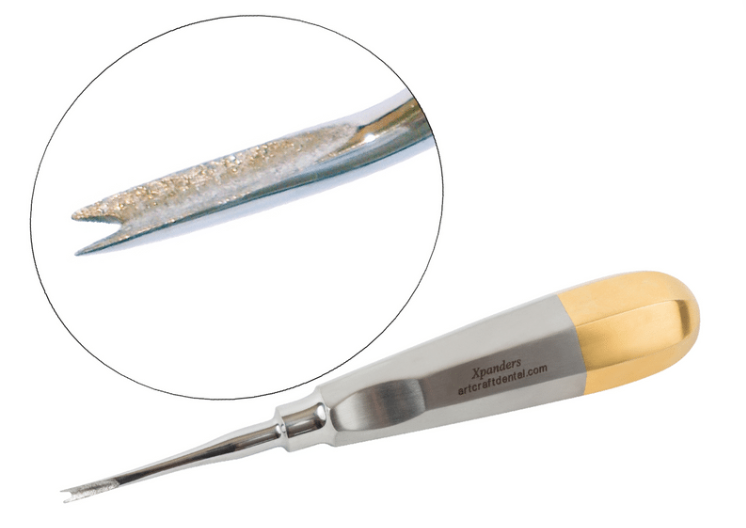
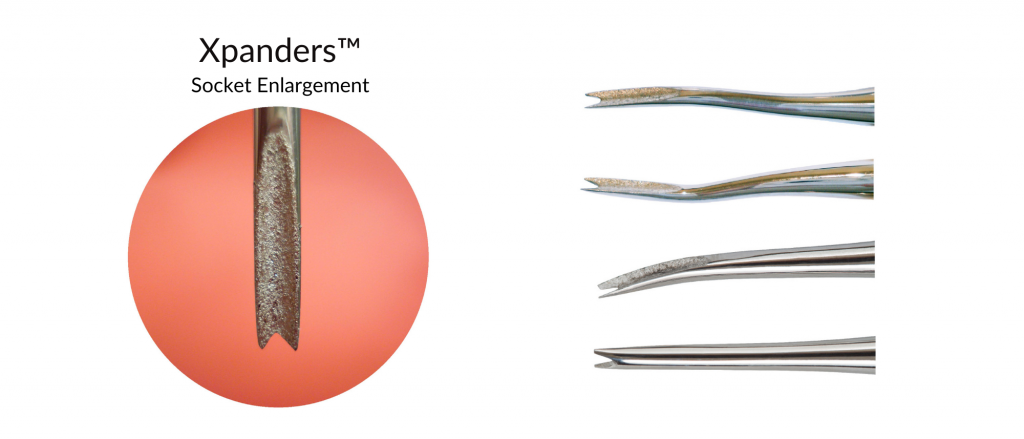
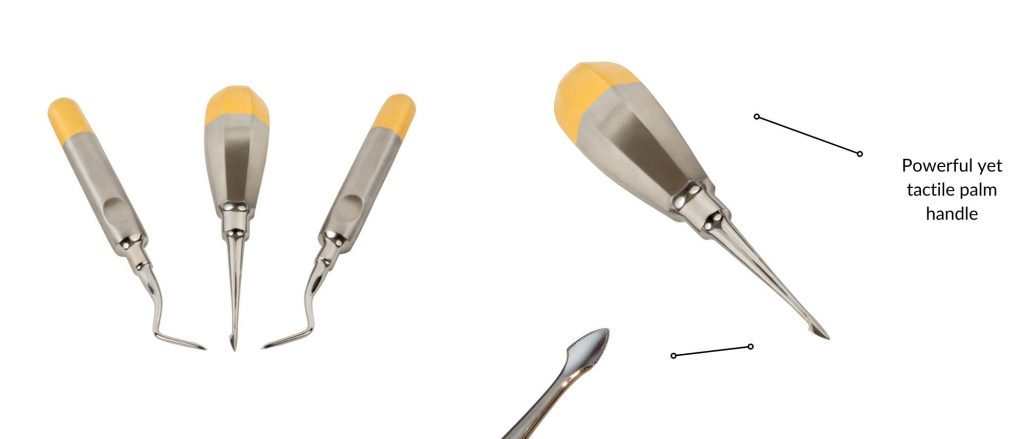
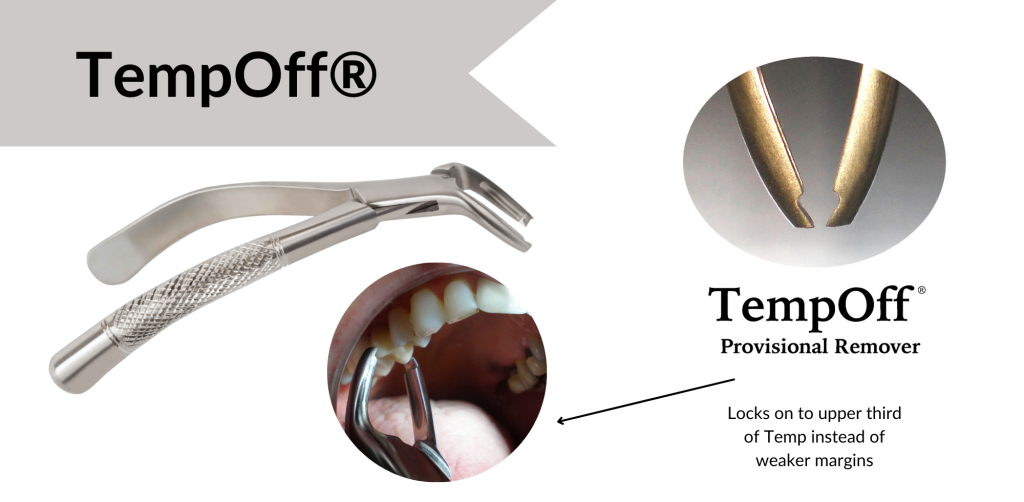
The 4 sharp points of contact on my TempOff® allows you to lock-on solidly to the provisional in the proper position- the upper one-third which is actually above the level of the underlying prep. You’ll be amazed at the solid grip you get the first time around.
Much less force is exerted on the tooth and build-up, and the lower two-thirds of the temp is free to flex out and break its own cement contact.
When I started testing the final design of TempOff®, I was pleased to discover that I could remove most temps in 3-5 seconds, AND it was virtually pain-free for the patients.
Because of the power of this tool, I only have to cut off provisionals two to three times a year at best.
Why Dentists love this tool:
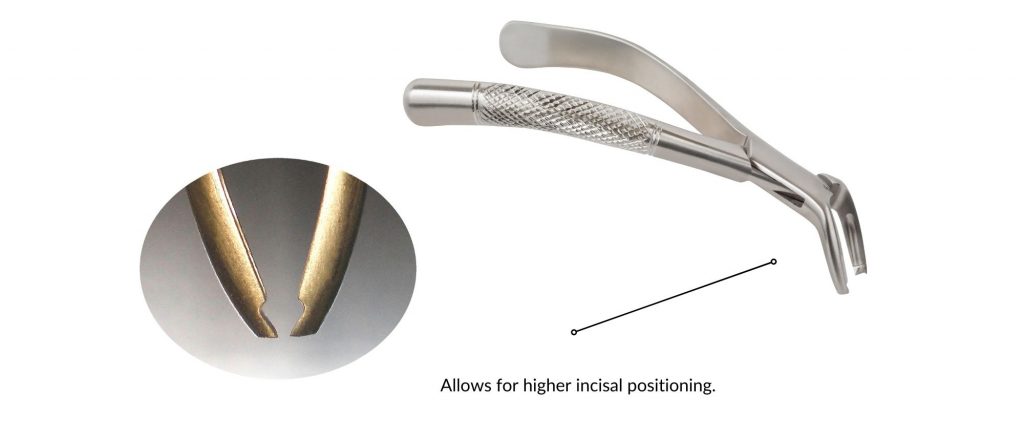
1.) Allows for higher incisal positioning
2.) Virtually no patient discomfort
3.) Unmatched in precision and performance
4.) Fast and reliable
Tool Advantages: I discovered over the years that temporaries were more easily removed if you locked onto them in the UPPER THIRD of the provisional- up and away from the margin. Squeezing the temp near the gum line using hemostats and rubber-tipped instruments only makes things worse.
Squeezing at the margin imparts a lot of unnecessary force onto the actual tooth and underlying build up. Additionally, you are squeezing the thin part of the temp back onto the tooth, so you are working AGAINST yourself!
Because you don’t have to squeeze the temp near the gum line, you can eliminate the pain and discomfort patients report when using hemostats or rubber-tipped instruments. Why use more force and risk damage to the underlying tooth and build-up when you don’t have to? Work smarter, not harder with TempOff®.
I take great pride in designing revolutionary dental instruments in the USA. Our inventions change the industry for the better. And, our TempOff® is just another example of this mission in action.
I truly believe that every dental office should be using instruments designed for their purpose, and for temporary removal that instrument is TempOff®.